Here is my all-new Vaquita painting/drawing that I made as a donation to Wild Lens, Inc.’s Kickstarter campaign for their upcoming Vaquita documentary, Souls of the Vermilion Sea. It is going to a very generous donor who gave $159 to the campaign, helping Wild Lens reach their goal of $15,000. I was also flattered by all the donors who bought my books, autographed or not. Between the books and the painting, donors gave a grand total of $1,104 to the campaign just for my work. You guys rock!
The painting, titled Emerging, is a combination of watercolor paint, watercolor pencils, graphite pencils, colored pencils, and pens on watercolor paper.
I just received an email from Greenpeace UK stating that their new Vaquita petition is the fastest-growing petition in Greenpeace history! They already have over 250,000 signers in 3 days, and it’s our job to keep that number shooting up. Please share this link to keep the heat on the Mexican government as they make their decision any day now about what their plans are for the Vaquita!
I am very pleased to say that Greenpeace is using one of my paintings for their social media outreach for this campaign!
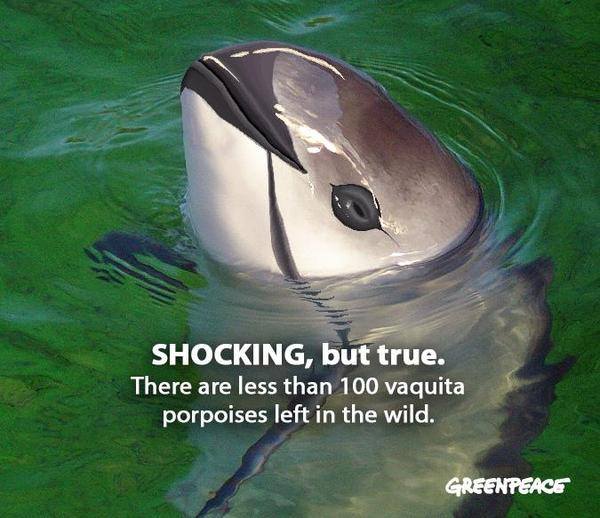
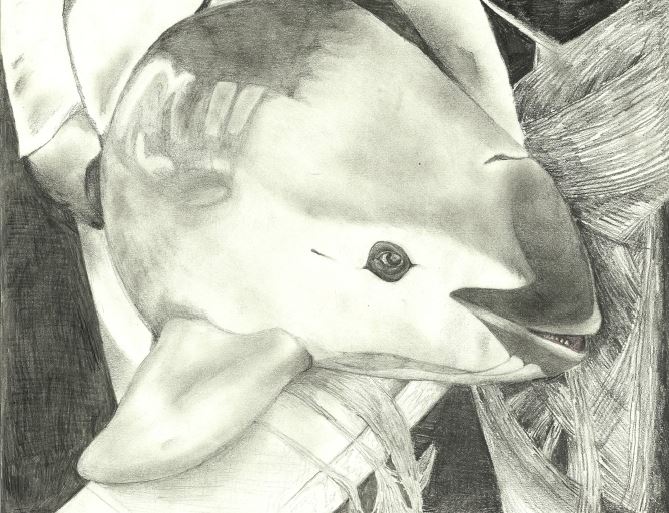
I have noticed some misunderstandings about this picture. As I said when I posted this a while back, this is a digital painting/photo manipulation of a photograph of a captive harbor porpoise from the Netherlands. It has become by far my most popular artwork (it is near the top when you search ‘Vaquita’ on Google images), so I just wanted to clear up everything. I obviously did not intend to confuse anyone. Vaquitas cannot be kept in captivity for many reasons, so this kind of view of a Vaquita is impossible. I wanted to show what it would be like to see a real, alive Vaquita close up. And of course, I do not want to cause any problems for the original photographer.
But I am flattered that Greenpeace thought it was a real Vaquita. 😉
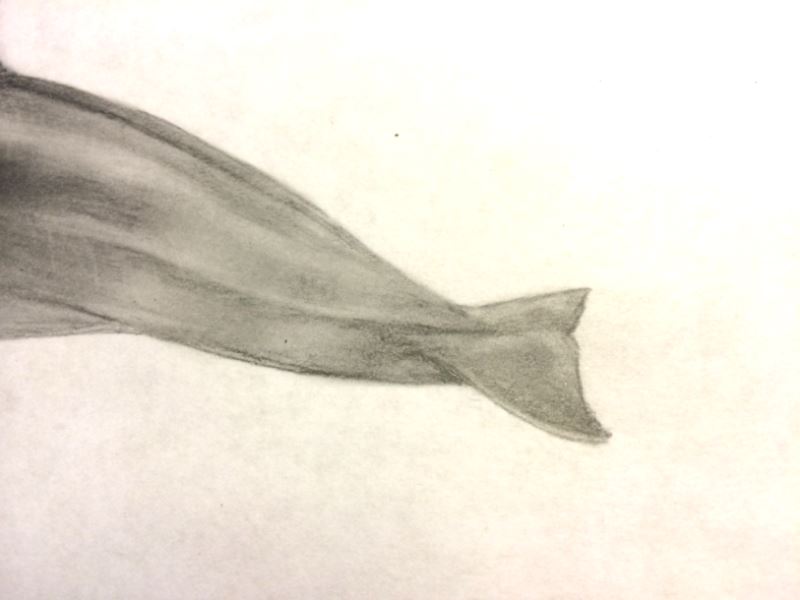
I have been doing a lot of Vaquita artwork recently, so much, in fact, that I have developed a method for drawing this little porpoise. I have created a “How-to-draw a Vaquita” guide for all of you artists out there that are looking to make some Vaquita art. Obviously, this is not a definitive guide, it is just how I draw Vaquitas.
Before anything, you need to figure out exactly what you want the picture to be. You can base your drawing/painting on a photograph, but in this guide I will be drawing a generic Vaquita that can be used for any pose. All I will be using is a pencil and my fingertip.
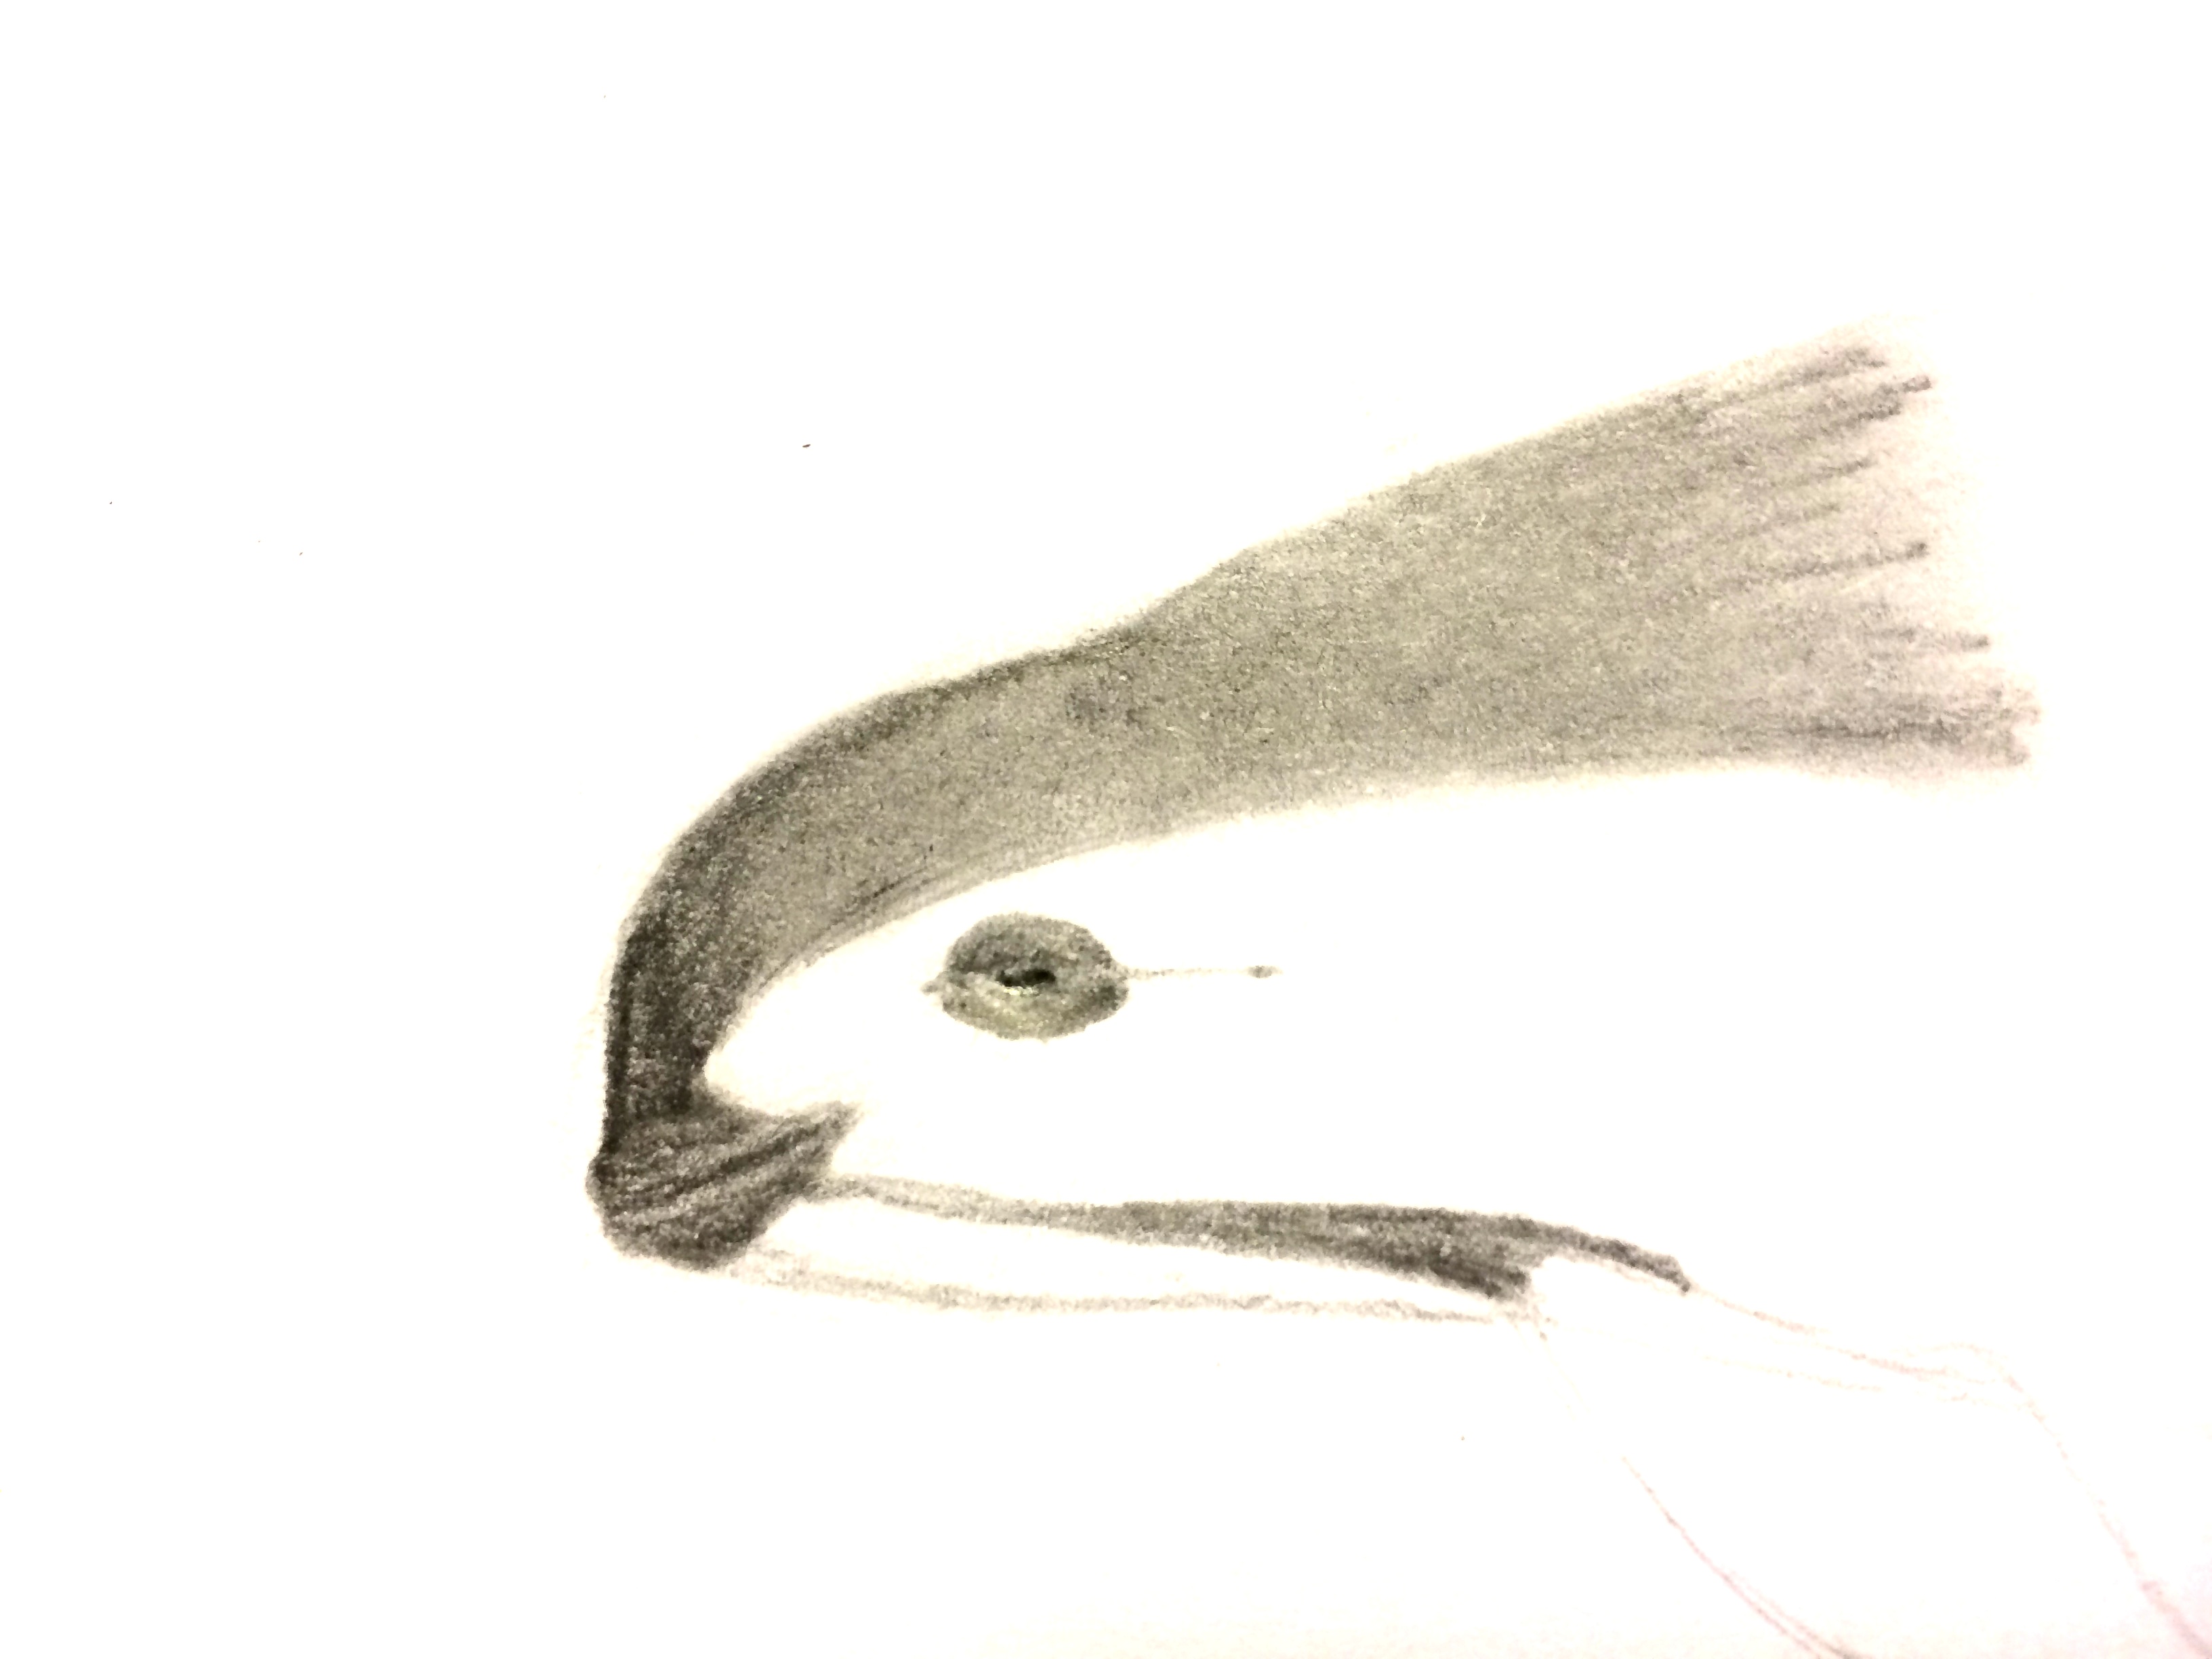
1. Firstly, you need to draw a rough outline of the body. This needs to be very light. Don’t worry about it not being perfectly smooth yet. Don’t draw any external details, such as stripes or eye-patches. Just the outline. This will take a lot of practice to get right, so don’t give up if you need to erase the outline 10 or more times. A very useful tip is that the mouth is always smiling and pointed directly at the eye, which is slightly above the imaginary horizontal center line of the head.
2. Next you will start adding detail. I prefer to start with the face and work towards the tail fluke. It is very useful to look at a bunch of photographs to get a good idea of what their individual body parts look like. The key points on the head are the eye-patch, mouth-patch, chin-to-flipper stripe, and the tiny ear hole, which is commonly forgotten. Also, begin the dark back, which is basically an extension of the mouth-patch.
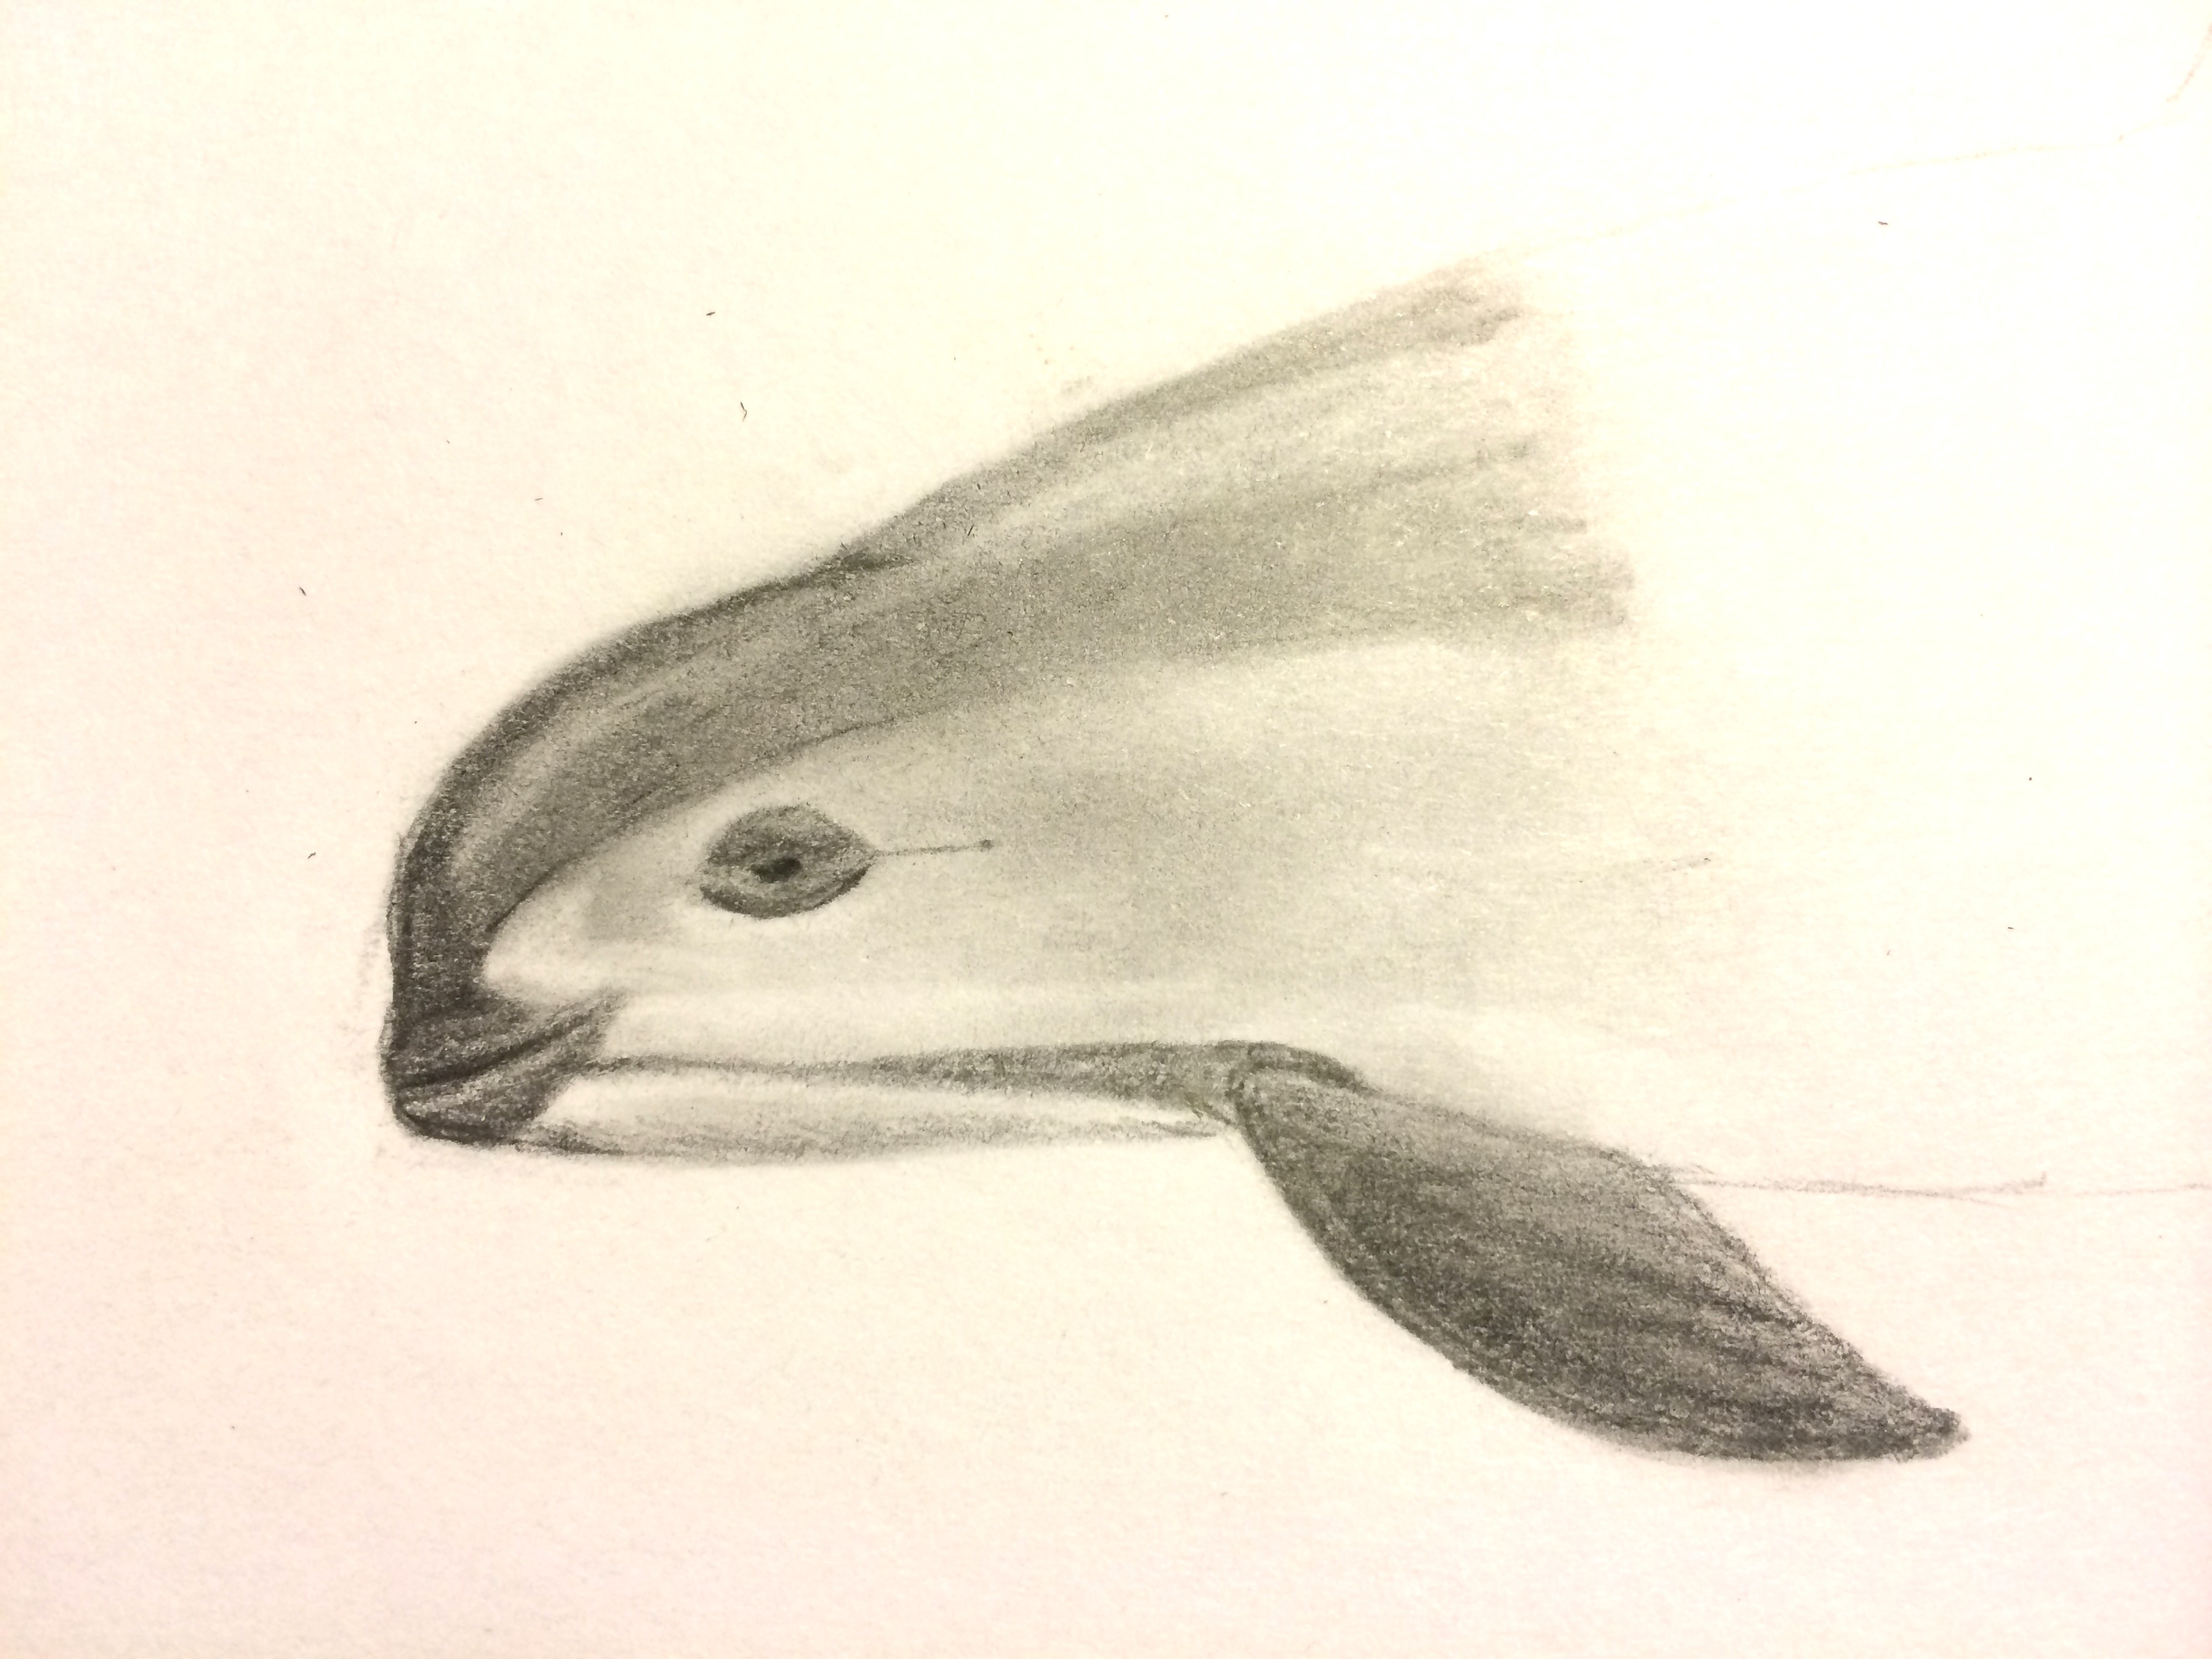
3. Take this time to make sure your pencil is very sharp. Redefine all of the details you already made, especially shadows. When you are coloring the back and flipper, make sure you rub the paper very hard with your fingertip to make the texture smoother. Now you can add the lighter gray to the face simply by rubbing, due to the excess lead on your finger. You can also add shading to the underside of the body with the rubbing technique, and the shine on the back by erasing lightly. You can also use the eraser to add subtle touches to the facial pattern, such as a ring around the eye-patch. Don’t forget to show hints of finger bones in the flipper. It is important that you know where the light source is coming from. In this case, the “sun” is above and to the right of the Vaquita, so I have the dark shading on the opposite sides of the light source (bottom left) of every curve. This is especially noticeable on the flipper.
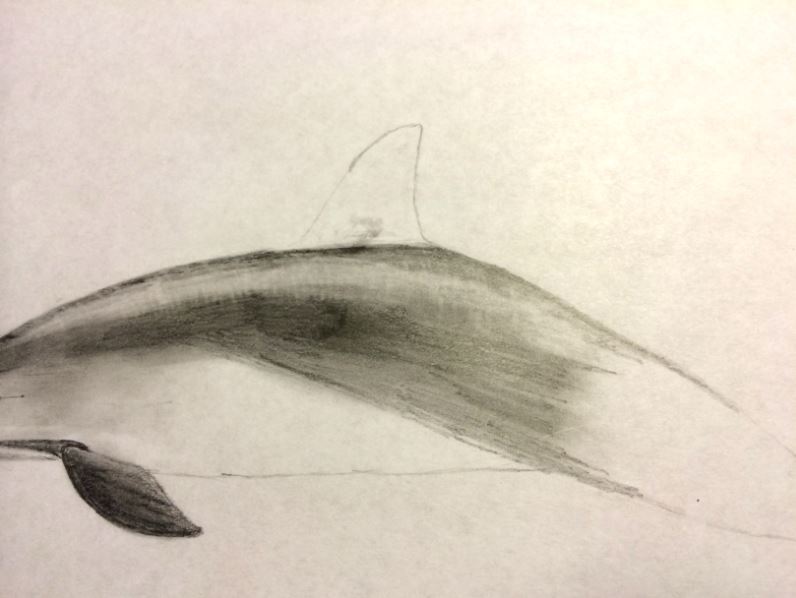
4. Next you need to work on the body. Use the same technique as the head: draw then rub. Make sure you are still looking at some pictures to get an idea of the color pattern. Vaquitas have a dark back, with light gray sides fading to a white belly. Make sure you continue the shine by erasing lightly, as well as drawing subtle muscles. Your fingertip should be pitch black as you are working on this. Next, you can work on the dorsal fin as well as any scars or markings for additional realism.
5. The final step is the tail stock and fluke. Pay close attention to the muscles and ridges of the tail stock, because the shading and lighting is crucial to making it seem real and 3-dimensional. There is a ridge along the vertebrae called a dorsal ridge, as well as a caudal keel, which is a ridge on the side of the tail stock connecting to the fluke. The fluke is basically flat, giving it a more uniform color than other body parts. When you are done with this, take a few minutes to overview the entire drawing. Squint, turn it upside down, take a photo of it, or ask someone else what they think; anything to help get a new perspective of the overall work of art. When you feel like you are completely content with your drawing, breathe a sigh of relief: you drew a Vaquita! Obviously your second try will be better than your first, third better than second, and so on, so stay patient. And of course, I would love to see your masterpiece! Please send your drawings to me at gl.tamarin123@gmail.com, as always.
Here is a digital painting/photo manipulation I made of a Vaquita from a picture of a Harbor Porpoise:
Here is a wonderful crochet Vaquita that my 9-year-old sister made:
This is a canvas painting that I just completed based on a photograph by Chris Johnson. I will be working on another canvas painting soon that will be for sale, so stay tuned!
Tudosoiu Dragos, the creator of V-log’s new logo, has also created the new logo for International Save the Vaquita Day 2014:
Also, this Sunday, January 26th, from 10:00 am to 4:00 pm, the Cabrillo Marine Aquarium in San Pedro, California will be having their 44th annual Whale Fiesta. You can visit the Muskwa Club’s table, which will be spreading awareness for the critically endangered Vaquita porpoise. They will also be advertising my book, which will be available in Cabrillo’s gift shop. Please stop by for a whale of a time! 🙂
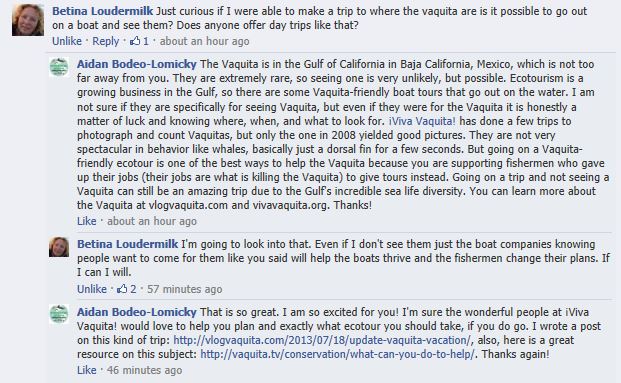
I was inspired by Betina Loudermilk’s comment on Facebook. She says that she will go on an eco-tour to look for the Vaquita if she is able to, which is amazing news! I hope many more people take the initiative and go on Vaquita-friendly eco-tours, because it is supporting the fishermen that switch careers from fishing with gillnets to giving eco-tours. You can read about some of the businesses that switched from gillnet fishing here: http://www.cedointercultural.org/index.php?option=com_content&task=view&id=69&Itemid=66. Also, here is a travel itinerary I made for a Vaquita-oriented vacation: https://vlogvaquita.com/2013/07/18/update-vaquita-vacation/. This is the comment thread I mentioned above:
17-year-old Frédérique Lucas from the Netherlands, known on deviantART as Namu the Orca, is the Muskwa Club’s first international member! She is an extremely talented artist with a passion for nature, especially cetaceans. She has agreed to do some Vaquita artwork to help raise awareness for the world’s most endangered marine mammal, so keep an eye out for some incredible Vaquita paintings in the near future!
The Muskwa Club’s newest project is: Viva Vaquita!—The Musical! Here is an article about it from Muskwa’s latest newsletter:
“Muskwa’s latest harebrained scheme continued to take shape this month. Viva Vaquita!—The Musical is already gathering widespread support amongst the South Bay and Peninsula theater communities.
The full-length musical will follow the basic plot line of Muskwa’s YouTube serials while injecting lively musical numbers in a Baja California setting.
Muskwa held the first development meeting on December 12 at Peninsula High. President William Whittenbury and local theater veteran Ashley Trutanich discussed the various aspects of musical production, including costs, sets, and necessary personnel. Muskwa’s musical will be original, so the organization will be able to avoid the crippling expenses often incurred by rights purchases.
In addition, Muskwan Hannah Hilden and noted Peninsula newscaster Natalie Edelstein have agreed to join the cast. Many others have also expressed interest. Local parent and talented artist Nancy Parsons has agreed to paint the sets, noting that she has always wanted to paint underwater backdrops.
Ms. Parsons is known for her beautiful sets for the Point Vicente Elementary Variety Shows, which formed a be-loved part of many Muskwans’ childhoods.
A tentative timetable would see the musical continue development for the duration of the school year, followed by performances in the summer. All profits will go directly to Vaquita charities.
¡Viva Vaquita! has also given us the go-ahead to use their name for the show, so it will be officially titled Viva Vaquita!—The Musical. Go Muskwa!”
It has been a spectacular year for the Vaquita and me. V-log got over 6,200 views from 68 countries in 2013, which is that many more people learning about the Vaquita. Check out this awesome report of this year on V-log, created by WordPress and with cool graphics: Click here to see the complete report.
I got some great art supplies for Christmas, and I started a Vaquita painting that should be finished within the next few weeks. In addition, I have plans to create prints and sell an original canvas painting, so stay tuned!
It’s official! International (yes, International) Save the Vaquita Day 2014 is on July 12th! This year promises to have more, better, and bigger venues than ever. Look out for an ISTVD 2014 logo in the very near future, as well as official updates on the event as venues are confirmed. Here is a wonderful picture by Uko Gorter. Let’s make 2014 the “Year of the Vaquita”!
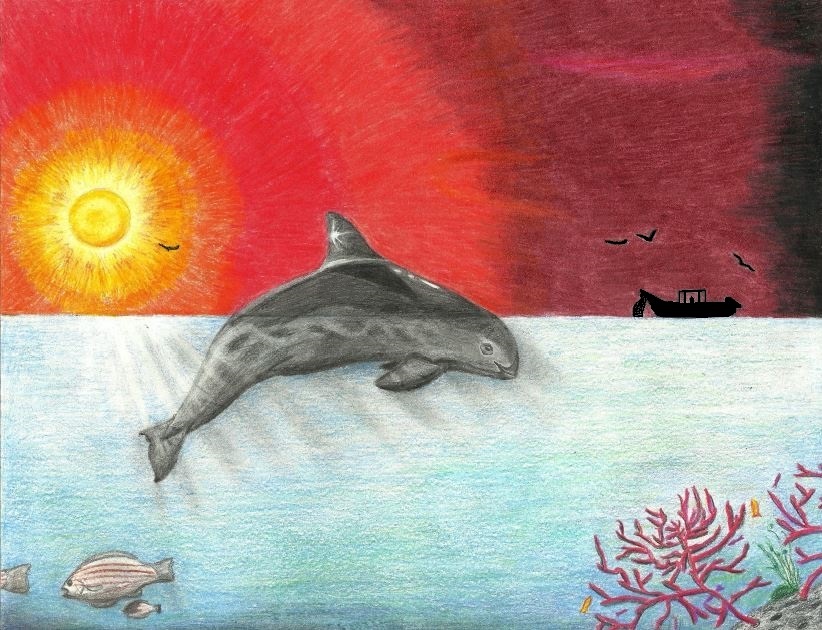
Here are two drawings that my brother and I just finished. The top one, “Two Worlds,” was drawn by me, and the bottom one, “Taken,” was by my 11-year-old brother:
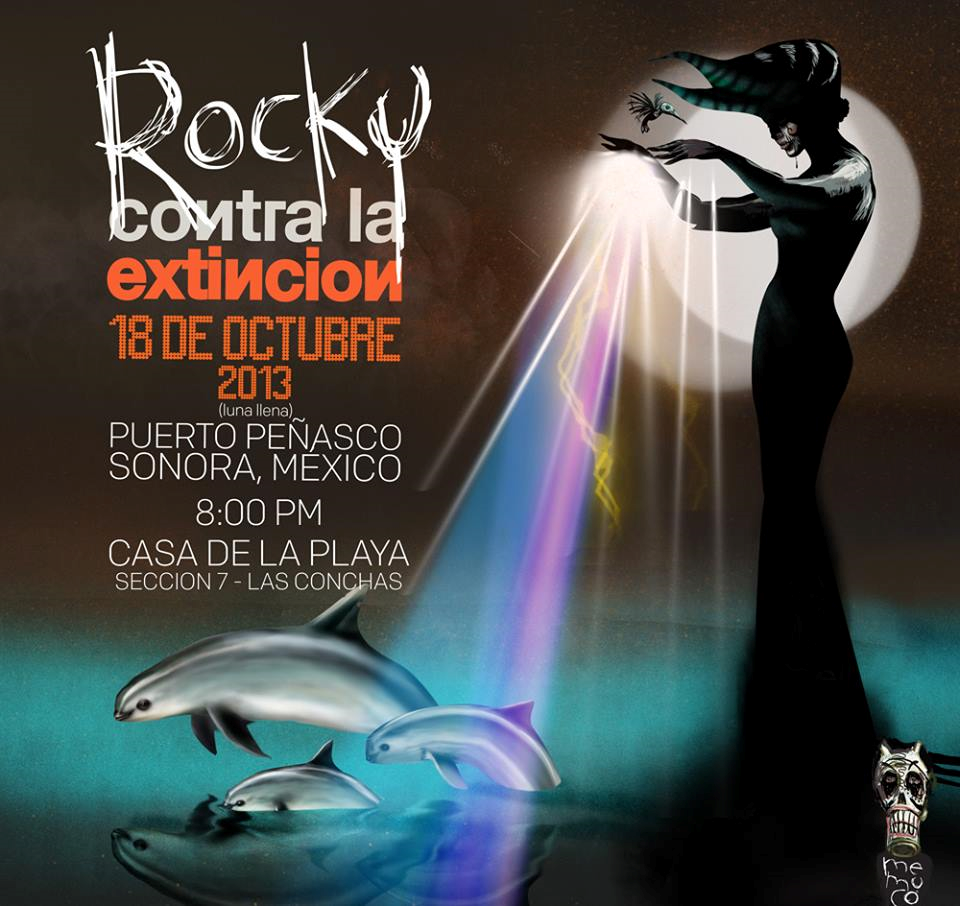
If you are near Puerto Peñasco, Mexico this month, please check out Memuco‘s art exhibition on October 18 (full moon). Here is a beautiful poster for the event. I also believe he will be in Mexico for the whole month of October and the Day of the Dead on November 1 and 2. Also, I still cannot thank him enough for illustrating my book‘s cover!
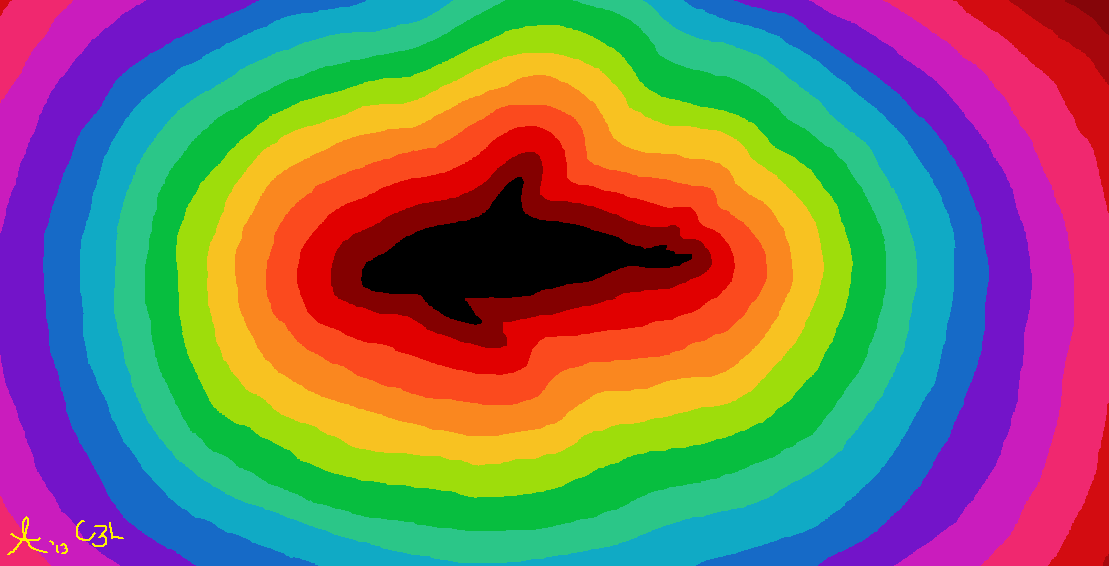
Please enjoy this painting, “Ripple,” I made based on a concept by my brother. He plans on painting this on a canvas in the future to sell, with the profits going to the Vaquita.